TL;DR
Turn off the PC and unplug the power cord. Then, open the PC case and locate the GPU. Push down on the little latch at the end of the PCIe slot where the graphics card is installed. While holding the latch down, gently pull the card out of the slot.
One of the most annoying things about PC issues is that they don’t have a single root cause.
They can occur for various reasons, meaning you have to disconnect all of your PC components and then reconnect them one by one to identify the culprit.
But that’s easier said than done, as components like the graphics card are susceptible to damage if unplugged improperly.
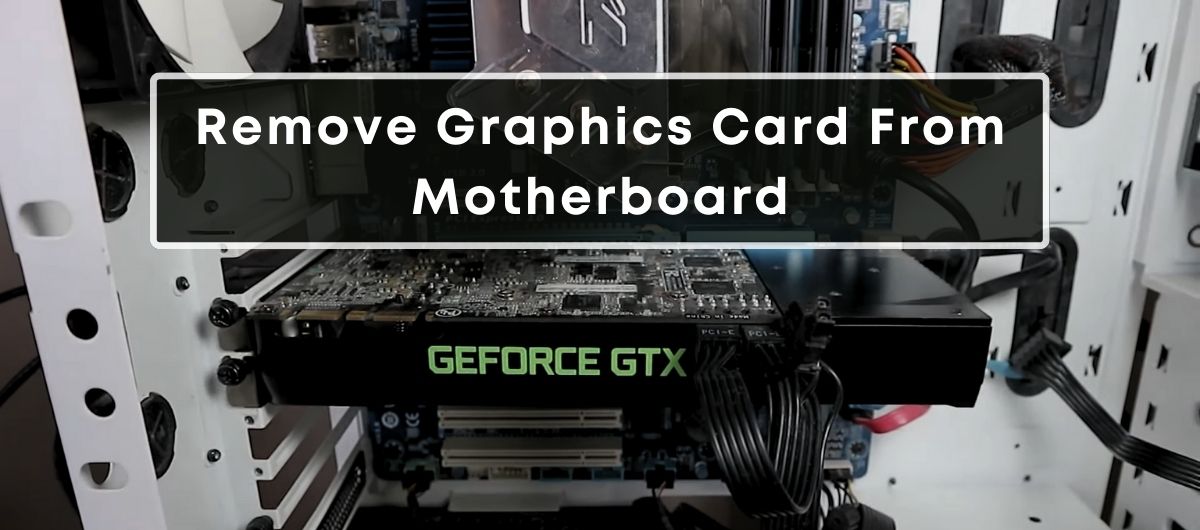
To help you out, we have written this post about safely disconnecting the graphics card from the motherboard and then reconnecting it.
Why Do You Need to Remove the Graphics Card from The Motherboard?

There can be many reasons why you might need to remove the graphics card from the motherboard.
The first one is the GPU upgrade.
A graphics card that was top-of-the-line a few years ago might not keep up with the latest productivity apps and high-definition games.
When you upgrade to a more advanced GPU, you’ll experience better performance, with higher frame rates and improved visual quality, turning every session into an immersive experience.
But to do that, you’ll need to remove the existing card first.
Maintenance can be another reason for GPU removal. Dust and debris can accumulate over time inside your PC, particularly on the graphics card’s cooling systems.
This can cause overheating, which reduces the GPU’s efficiency and potentially shortening its lifespan.
By removing the card, you can perform a thorough cleaning to ensure that your graphics card (and even the overall PC) remains in perfect working condition.
The third reason, arguably the primary one, is PC troubleshooting.
If your PC crashes, experiences glitches, or displays graphical anomalies, the problem may lie with the graphics card.
Removing it allows you to test the GPU outside of the main system or test the system without it to identify the root cause.
How Do You Remove a Graphics Card From the Motherboard?
Preparation
First, you need to power off the computer and unplug it from the power source.
Next, it’s important to use an antistatic wrist strap. Make sure to have it on to protect the sensitive electronic parts from static electricity, which can be quite harmful.
Also, you can try doing the whole process in a clean, well-lit area. This will make it easier to see what you’re doing and keep tiny screws from getting lost.
The tools you will need are a Phillips screwdriver and, optionally, a pair of tweezers.
Step-by-Step Guide
Start off by opening the computer case, which typically involves removing screws and gently sliding or swinging out the side panel.
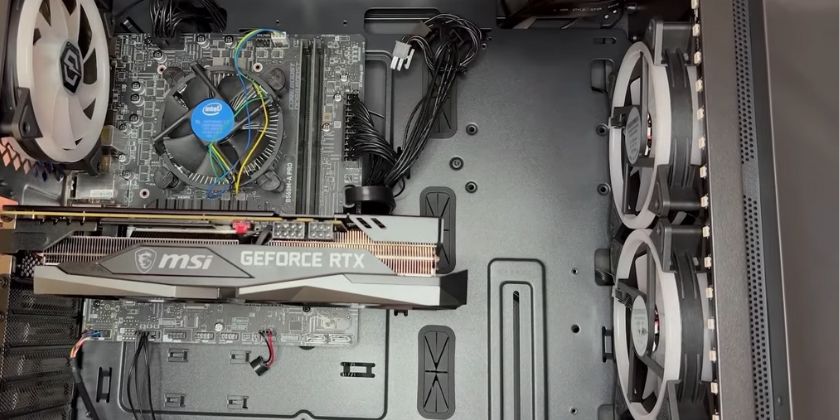
Once the internals are exposed, it’s easy to see the graphics card seated in its PCIe slot.
After that, carefully locate and unscrew the screws that secure the card to the case. This is important to avoid any damage while removing the graphics card.
With the screws off, hold the card by its edges – avoiding contact with the circuitry – and locate the PCIe slot latch.
Now, pull the graphics card card out of the slot by pressing down on the latch.
If the graphics card has additional power connectors, they must be disconnected before you take the card out.
You must handle these connectors delicately, as applying too much force could snap them, leading to additional issues.
How Do I Reinstall the Graphics Card On Motherboard?
Once you have completed the task for which you removed the graphics card, it is time to reinsert it into its slot.
First, align the graphics card with the PCIe slot and carefully lower it straight down. Apply even pressure on both ends of the card so that it sits properly.
Once in place, there shouldn’t be gaps between the PCIe slot and the card, and it should look parallel to the motherboard.
Before securing the card with screws, double-check the connection.
Next, reconnect the PCIe power connectors from the power supply unit (PSU) to the card and turn on the display to see if everything works properly.
If the display isn’t working after these steps, turn off the computer, disconnect the power, and review the installation steps.
Frequently Asked Questions
Can I Remove The Graphics Card From My Laptop?
Many laptops have integrated graphics chips that are soldered directly onto the motherboard, meaning it’s impossible to remove without specialized equipment and expertise.
However, some high-end gaming or workstation laptops feature discrete graphics cards, sometimes in the form of MXM (Mobile PCI Express Module) cards, which can be upgraded or removed.
How do I Safely Remove my Graphics Card From its Slot?
First, you need to turn off the computer and disconnect it from the power source.
After that, unscrew the card from the chassis’s mounting bracket and gently press down on the PCIe slot lever to release the card.
Lastly, carefully pull the card out of the slot.
Is it Safe to Uninstall the Nvidia Graphics Driver?
Yes, it is safe to uninstall the Nvidia graphics driver. Your computer will continue displaying through a basic VGA driver that Windows defaults to when the Nvidia driver is absent.
Does the PCIe Slot Affect Graphics Card Performance?
Yes, the choice of PCIe slot can affect graphics card performance.
Generally, it’s recommended to use the primary PCIe x16 slot for the graphics card to ensure optimal performance, as it offers the highest bandwidth.
Can I Upgrade my Graphics Card Without Replacing the Motherboard?
Yes, you can usually upgrade your graphics card (without replacing the mobo), provided the new card is compatible with your motherboard’s slot type, size, and power requirements.
