Once you’ve bought a PC/laptop, it’s natural to think about squeezing as much power juice out of it as possible – especially if your work revolves around productivity apps.
These apps, such as Photoshop, Maya, and Blender, are becoming more power intensive, meaning you need to unlock all the power potential of your workstation to run them smoothly.
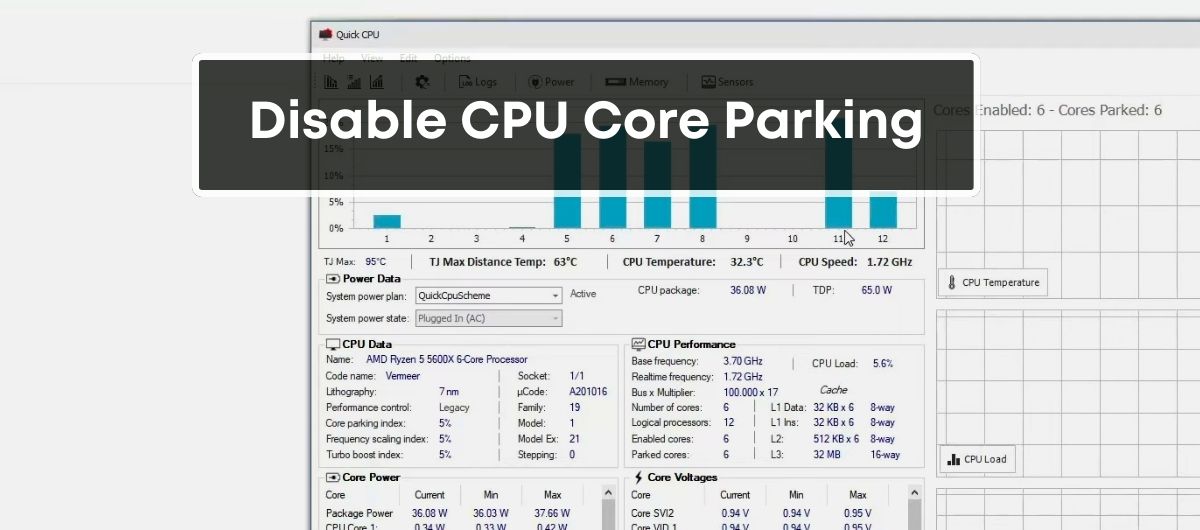
Fortunately, Windows OS comes with an option known as disabling the CPU core parking.
It’s a simple tweak that can ensure your CPU is running at full throttle when performance is the top priority.
What is CPU Core Parking?
The CPU Core Parking is an advanced power-saving feature baked into modern processors and the Windows OS.
When you’re not running demanding applications that require full CPU power, this feature kicks in and puts some of those cores to “sleep.”
However, when the demand on the system increases, and the active cores can no longer efficiently handle the workload, the operating system “wakes up” or “unparks” the cores.
The primary purpose of this feature is to conserve energy and facilitate thermal management.
This feature is more helpful in laptops and portable devices, where the top priority is extending the battery life between charges.
Why Do You Need To Disable the CPU Core Parking?
As good as it sounds on paper, CPU core parking is not suitable for all users. These are the main reasons why you might want to deactivate it for good.
1. Performance Improvements
The logic is simple: with all cores active, your processor can handle tasks more swiftly and efficiently.
Many experts have complained that Windows can be overly conservative in parking cores, leading to unnecessary delays as cores are activated for burst loads.
Therefore, unparking these cores can result in quicker task completion and a smoother computing experience, especially noticeable in high-load situations where every millisecond counts.
| Situation | Parked Cores | Unparked Cores |
|---|---|---|
| High CPU Load | High latency | Reduced latency |
| Burst CPU Load | Sluggish | Responsive |
2. Compatibility with Certain Applications
There are some apps and workflows that demand more consistent CPU performance and may not play well with the core parking feature.
If you’re into video editing, 3D rendering, or running other resource-intensive applications, having all cores at work ensures that these applications have access to the full capabilities of your system.
3. Reduce Latency and Lag
The lag and latency are nemesis to gamers and live-stream creators.
By disabling the CPU core parking, you’re ensuring the system responds to high-intensity demands without delay.
There will be no lag from the system waiting to unpark a core – instead, all cores are ready.
This instantaneity can be critical, whether you’re in the heat of an online battle or needing to maintain stream quality for your audience.
How do you check if CPU Core Parking is enabled on your PC?
Before disabling the core parking, it’s important to know whether it’s even enabled in the first place or not.
1. Windows Task Manager
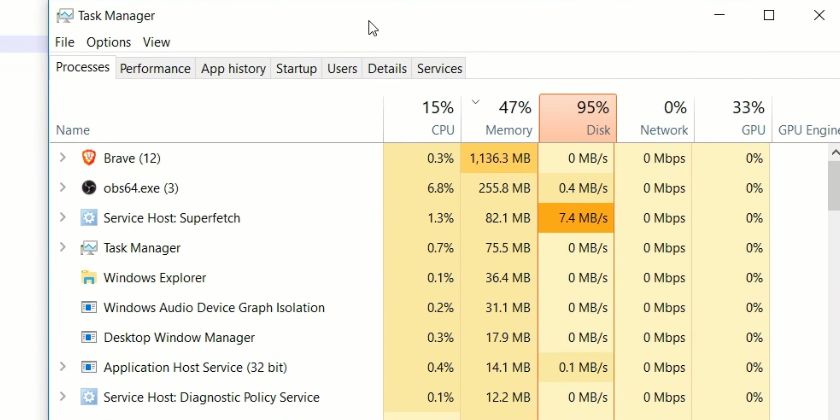
Windows Task Manager is your first port of call to check CPU core parking status.
Here’s how you can navigate this built-in tool:
- Press Ctrl + Shift + Esc to open Task Manager.
- Switch to the ‘Performance’ tab for an overview of CPU utilization.
- Look for any cores that are marked as ‘Parked.’
2. Third-party Software
For those who prefer a more detailed analysis or find the Task Manager information not sufficient, third-party software can come in handy.
There are utilities available that allow you to enable and disable CPU core parking without the need to navigate the complexities of manual registry edits (more on that later).
Such tools often provide a user-friendly interface with detailed status reports, indicating whether your cores are active or parked.
- You start these programs,
- Press a button typically labeled as ‘Check Status’ or similar,
- And you’re presented with a list indicating the parking status of each core.
How to Disable CPU Core Parking
Once you’re sure that CPU core parking is indeed enabled on your machine, follow any of these methods to disable it.
1. Power Options

This method is straightforward and doesn’t require any advanced technical skills.
- Go to the Control Panel and select ‘Hardware and Sound’.
- Click on ‘Power Options‘.
- Find your current power plan and choose ‘Change plan settings.’
- Click on ‘Change advanced power settings’.
- In the power settings, look for ‘Processor power management’ and then ‘Minimum processor state.’
- Set this to ‘100%’ to ensure that the cores do not park.
- Hit ‘Apply’ to save your settings.
By setting the minimum processor state to 100%, your cores will remain active and are less likely to enter a parked state.
2. Registry Editor

Registry Editor offers a more direct approach to disable CPU core parking, granting you the ability to change system-level settings that control core parking.
- Press’ Win + R’, type ‘regedit’, and hit Enter to launch the Registry Editor.
- Navigate to the following key:
HKEY_LOCAL_MACHINE\SYSTEM\CurrentControlSet\Control\Power\PowerSettings\54533251-82be-4824-96c1-47b60b740d00\cc5b647c-1e43-4637-9e1a-dec35c318583 - Here, you’ll see the ‘ValueMax’ field. Double-click it and edit the value.
- Set the ‘Value data’ to ‘0’ to disable core parking.
- Close the Registry Editor to complete the process.
You need to be careful while modifying the registry, as any incorrect changes can lead to system instability.
3. Group Policy Editor

If you’re using Windows 10 Pro or Enterprise, the Group Policy Editor provides an alternative method to the Registry Editor for disabling CPU core parking.
- Type ‘gpedit.msc’ in the Start Menu search bar and press Enter to open the Group Policy Editor.
- Under ‘Computer Configuration’, navigate to Administrative Templates > System > Power Management.
- Look for settings related to CPU management or core parking.
- Double-click the specific policy you wish to modify and set it to ‘Enabled’ or ‘Disabled’ as per your preference.
- Apply the changes.
Drawbacks of Disabling CPU Core Parking
While disabling the CPU core parking can be helpful in many situations, it’s equally important to be aware of any potential downside beforehand.
1. Increased Power Consumption
When you disable CPU core parking, the power-saving benefits associated with this feature are bypassed.
By keeping all cores active, you’ll see an uptick in power usage, which leads to a higher electricity bill and could be problematic for battery-powered devices like a laptop.
Unparked cores will continuously draw power, even during idle periods, negating the power-saving technologies such as Intel’s SpeedStep or AMD’s Cool’n’Quiet.
2. Compatibility Issues with Certain Hardware
Not all systems will cooperate smoothly with these changes.
You can run into issues where hardware or firmware is not fully compatible with an always-on state for the CPU cores.
Manufacturers sometimes implement proprietary technologies that align with specific power-saving modes, which (if disrupted) could lead to system instability or void warranties.
3. Increased CPU Temperatures
One significant impact of keeping the CPU cores active is the increase in temperature.
Power directly translates to heat, and without periods of rest enabled by core parking, the CPU maintains a constant level of work.
This could strain your cooling system, especially if it’s not designed for such a consistent thermal load.
A prolonged increase in the temperature can also potentially shorten the lifespan of the processor and affect overall system performance.
Therefore, it’s important for you to monitor the temperatures after disabling core parking and make sure that a sufficient cooling solution is in place.
Frequently Asked Questions
Should Core Parking Be 0 Or 100?
If you want to get maximum performance out of the CPU, set the core parking to 0. At 100, cores are aggressively parked to save power.
Your choice depends on whether you prioritize speed or energy efficiency.
Is it Safe to Unpark CPU Cores?
Yes, it’s safe to unpark CPU cores. This action simply allows all your CPU cores to be active, potentially improving performance, especially in demanding tasks.
Do Cores Affect CPU Speed?
More cores can improve CPU speed in multi-threaded tasks as work gets distributed across more cores.
However, for single-threaded tasks, the speed depends more on the core’s individual performance.
Should I Unpark All Cores?
Unparking all cores can boost performance for heavy workloads or gaming. However, this increased power with also lead to more energy consumption and heat.
Does Core Parking Save Energy?
Yes, core parking saves energy by shutting down unused CPU cores. This shutdown leads to reduced power consumption when full CPU power isn’t needed.