Encountering a non-responsive keyboard when trying to access your BIOS can be frustrating, to say the least. It’s a common issue that can stump even the seasoned tech enthusiast. Whether it’s your first time dealing with BIOS or you’re a veteran, understanding why your keyboard won’t cooperate is crucial for a quick fix.
Multiple factors could be at play when your keyboard fails to work in BIOS, from uninitiated drivers to faulty USB ports. But don’t worry, there’s a myriad of troubleshooting methods to get you back on track. Let’s dive into how you can enable your keyboard in BIOS and what steps to take if that doesn’t solve the problem.
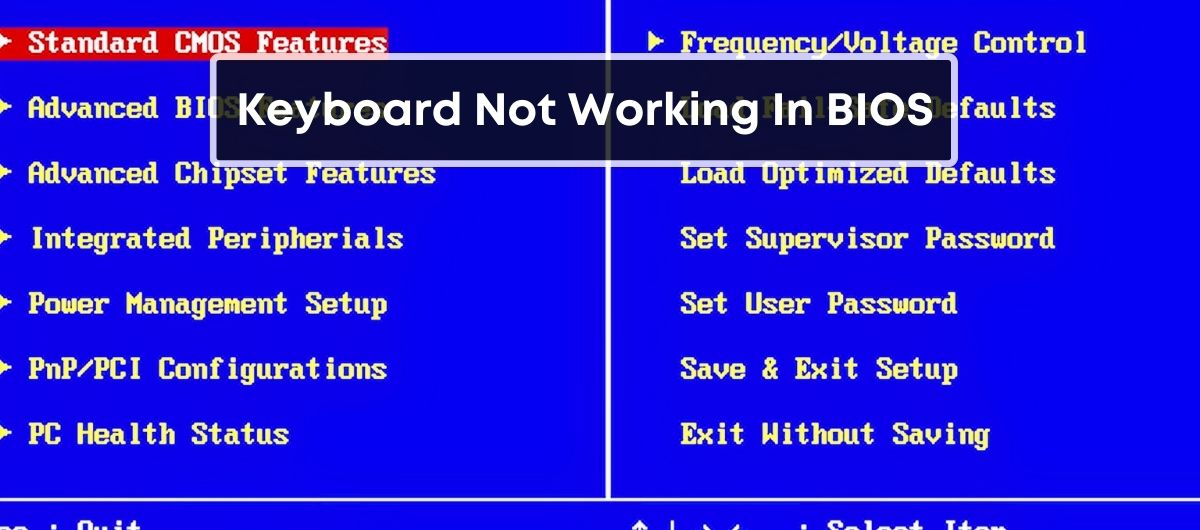
What To Do If Your Keyboard Is Not Working In BIOS?
There can be multiple reasons for your keyboard not working in the BIOS menu.
Therefore, there’s no single fix for this problem.
Instead, you should try multiple solutions, such as checking the keyboard connection, updating the BIOS, resetting the CMOS, replacing the keyboard, etc., to see which one works.
Why is Your Keyboard Not Working in the BIOS?

Experiencing a non-responsive keyboard in the BIOS can be attributed to several factors. Drivers are the main culprits often; your keyboard’s drivers may not be initialized when you’re entering the BIOS. This means the system isn’t recognizing your input device early enough during the boot process, leading to an inability to use the keyboard in BIOS settings.
Another reason could be related to USB port initialization. Some motherboards have settings that delay USB port activation to speed up the booting process. Consequently, if the BIOS leaps past the port initialization where your keyboard is connected, you’re likely to run into issues. This is particularly true if you’re using a keyboard that isn’t natively supported by the BIOS. In addition, there’s a possibility that you have a faulty USB port, which physically prevents the keyboard from connecting properly with your system.
Here are some common reasons your keyboard might not be working in BIOS:
- Uninitialized drivers that don’t activate in time for the BIOS
- Unsupported keyboard drivers in BIOS settings
- Non-initialized or faulty USB ports
- KEYBOARD NOT ENABLED in BIOS settings
Given these factors, it’s essential to determine whether your keyboard is enabled in the BIOS. This might sound a bit like a chicken and egg situation, but certain motherboards offer alternative methods for accessing BIOS without a traditional keyboard.
Modern Motherboards and UEFI firmware often allow navigation and setting adjustments using a mouse, bypassing the need for key input. In contrast, older motherboards with text-only interfaces still depend on keyboard navigation.
If you’re wondering about wireless keyboards, those using RF transmitters can sometimes work in BIOS. However, Bluetooth keyboards usually run into syncing issues due to the BIOS not recognizing them at such an early stage in the boot process.
How to Fix the Keyboard Not Working in the BIOS Issue?
When your keyboard’s not responding during the system’s startup, it can prevent access to vital BIOS settings. Here are several methods to troubleshoot this frustrating issue.
Restart the Computer
Simple as it may sound, beginning with the basics can often solve complex problems. If the keyboard’s not responding, restart your computer. This often resets the BIOS interface, potentially resolving temporary hiccups or glitches.
Enable USB Support
Configuring your system’s BIOS might just be the ticket to getting your keyboard up and running. Head into your BIOS settings and ensure USB Support is enabled, particularly USB keyboard and USB mouse simulator options, which are pivotal for recognition in BIOS mode.
Disable USB 3.0 on Boot
Some keyboards may fail to work due to USB 3.0 ports during the boot process. Venturing into the BIOS and disabling USB 3.0 can prompt your system to revert to using USB 2.0, which might restore keyboard functionality during startup.
Disable Fast Boot
The Fast Boot feature, designed to speed up the boot process, may skip necessary checks, like initializing connected devices. Turning off Fast Boot in the BIOS can give your system extra time to detect and initialize the keyboard.
Clear CMOS
When BIOS settings are misconfigured, clearing the CMOS can reset these settings back to factory defaults. This may involve opening up the PC and removing the CMOS battery momentarily or using a jumper on the motherboard.
Change Keyboard Settings
Some gaming keyboards have specific modes and may not work in BIOS by default. Adjusting these settings or switching to BIOS mode on your keyboard, if available, can rectify this conflict.
Update BIOS and Keyboard/Mouse Driver
Ensuring that you’re running the latest BIOS version and that your keyboard and mouse drivers are up to date is crucial. Manufacturers often release updates that can improve compatibility and fix bugs.
Enable Legacy USB Support in BIOS
Legacy USB Support is a feature that allows BIOS to recognize USB devices. Check your Advanced settings in BIOS and make sure Legacy USB Support is activated to ensure your keyboard is recognized at boot.
Disable Intel Integrated Sensor Solution Driver
Sometimes the Intel Integrated Sensor Solution Driver can interfere with keyboard and mouse functionality. You might need to disable this driver in the Device Manager under System Devices to stop potential conflicts.
Conclusion
Frequently Asked Questions
How do I enable my keyboard in BIOS?
To enable your keyboard in BIOS, restart your computer and repeatedly press the designated BIOS entry key (commonly F2, F10, Del, or Esc) during the startup screen. Once in BIOS setup, navigate to the ‘Integrated Peripherals’ or ‘USB Configuration’ section, and ensure that USB Keyboard Support or Legacy USB Support is enabled. Save and exit the BIOS setup to apply changes.
How do I update my BIOS if my keyboard is not working?
To update your BIOS when your keyboard is not working, reset the BIOS by repositioning the motherboard’s jumper or removing the CMOS battery for some minutes, then reinstalling it. If manageable, use another working keyboard to navigate or apply a BIOS update via the manufacturer’s Windows-based software utility, ensuring minimal disruption during the update process.
How do I fix unresponsive keyboard keys?
To fix unresponsive keys, start by using canned air to remove debris from around the keys. If that doesn’t solve the issue, gently remove the keycaps and clear out any dust or dirt with the canned air. Regularly cleaning your keyboard can prevent keys from becoming sticky or unresponsive.
How do I check keyboard functionality in BIOS?
To check keyboard functionality in BIOS, enter the BIOS setup by pressing the designated key during startup (often F2, F10, Del, or Esc). Once in the BIOS menu, use the arrow keys to navigate through the menus. If the keyboard responds, it is functioning within the BIOS environment. If it doesn’t, the issue may be hardware-related.
Can you accidentally lock your keyboard?
Yes, it is possible to accidentally lock your keyboard or have it become unresponsive due to various reasons, such as pressing certain key combinations (like ‘Fn’ + ‘F’ keys on laptops), software conflicts, or connection issues. Checking your keyboard’s connection or looking up specific key combinations for your keyboard model might help unlock it.
How to enter BIOS without keyboard?